Personal Settings
The Personal Settings section focuses on settings directly related to your account, such as your name, e-mail address, phone number, …
It is also the place where you store your personal search filters which you can use to specify which objects need to be displayed on the different overview lists.
Refer to the following procedures for more information:
Editing Your Personal Settings
This option allows you to edit your personal settings. These are the settings you (or the Global Administrator using your User ID) defined when you logged on to IKAN ALM for the first time.
-
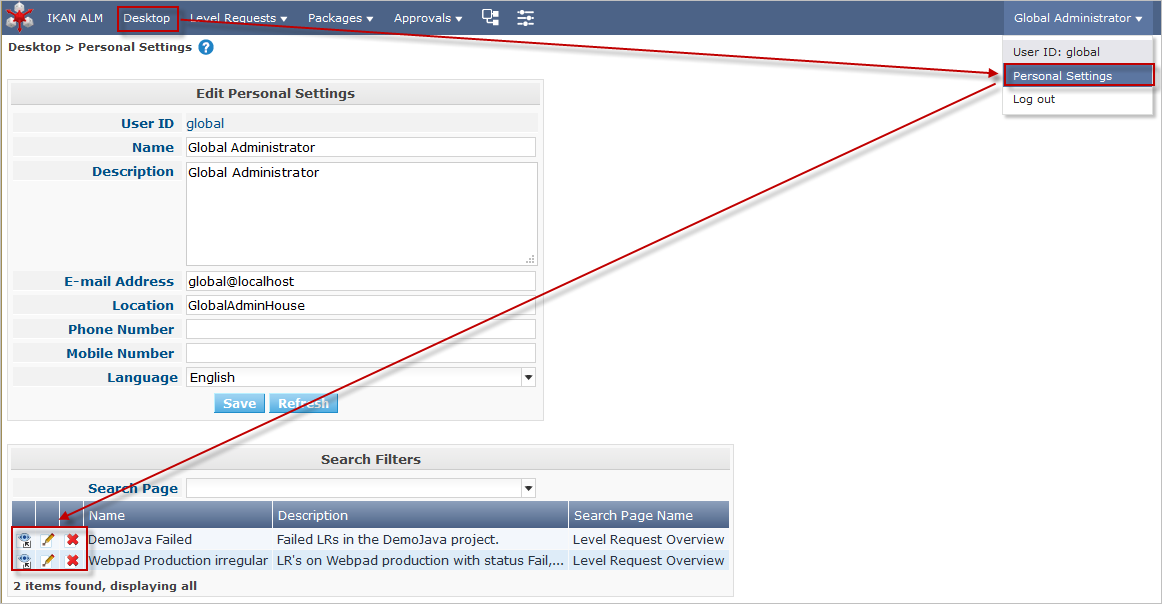
Select Desktop > Personal Settings.
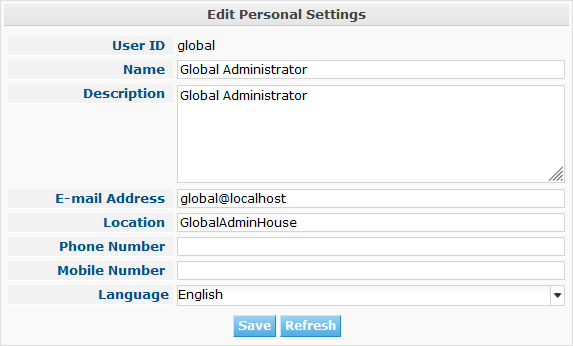
The Personal Settings screen is displayed:
-
Update the fields as required.
The following fields are available:
Field Meaning User ID
This read-only field contains your IKAN ALM User ID. As User IDs are administered outside IKAN ALM, you cannot change it.
Name
In this field, you may edit your complete name.
This field must be filled out.
Description
In this field, you may enter or edit a free description.
E-mail Address
In this field, you may edit your e-mail address.
Notifications generated by IKAN ALM (for example, on failed or succeeded Level Requests, on Approvals, …) will be sent to this e-mail address.
This field is mandatory.
Location
In this field, you may enter or edit the description of your working location.
Phone Number
In this field, you may enter or edit your phone number.
Mobile Number
In this field, you may enter or edit your mobile number.
Language
From the drop-down list, you can select the language in which the IKAN ALM User Interface must be displayed, when you log on to IKAN ALM with this User ID. You can choose between English, French and German.
-
Click Save to save your changes.
You may also click Refresh to retrieve the settings from the database.
Defining Search Filters
On the Overview screens, the improved search options allow to specify which objects will be displayed on the overview list.
On some of the overview screens, after having specified the search criteria, you can save the search specification using the Save filter link. This way, you can reuse the same criteria for future search actions.
Refer to the following procedures for more information:
Creating a search filter
-
Specify the required (advanced) search criteria.

-
Click the Save filter link.
The following pop-up window is displayed.
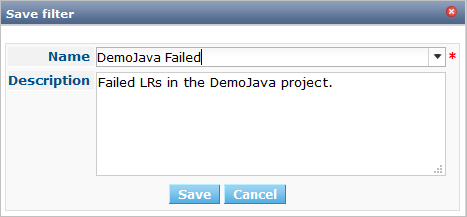
-
Enter the name and a description for the new filter and click the Save button.
The filter will now become available in the filter drop-down menu.
-
On this screen you can also manage the filter definitions.
For more information, refer to the section Managing Filter Definitions.
|
Editing the name and description of the filter can be done on the Personal Settings screen. See: Managing Filter Definitions. |
Selecting a Search Filter
On the Overview screens, you can select a search filter instead of manually specifying search criteria.
-
To display the list of existing filters, click the down arrow of the No filter selected drop-down box.
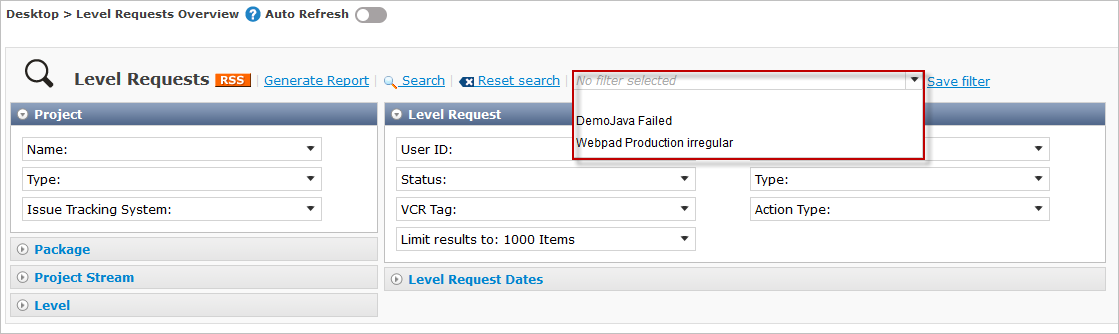
-
Select the required filter from the list.
The search criteria will be automatically filled in and the filtered result will be displayed on the overview.
Managing Filter Definitions
The Search Filters panel on the Personal Settings screen allows you to view the current filter definitions, to modify their name and description or to delete a filter.
-
Select Desktop > Personal Settings.
The Search Filters panel displays the list of all filters defined for the current user.
If required, you can limit the list of displayed filters by selecting the required Search Page (Package Overview, Projects Overview, Level Request Overview of Build and Deploy Overview) from the drop-down list.
-
Click the
 View icon in front of the filter, to view the specified search criteria.
You will be forwarded to the related Overview screen and the search criteria will be automatically applied.
If required, you can now modify the search criteria and save them to the filter definition. See also Modifying a filter’s search criteria.
-
Click the
 Edit icon in front of the filter, to modify the name or the description.
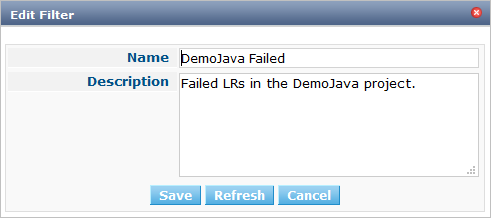
Confirm the modification, by clicking the Save button.
Modifying the search criteria is only possible on the Overview screens. See: Modifying a filter’s search criteria
-
Click the
 Delete icon in front of the filter to delete a specific filter.
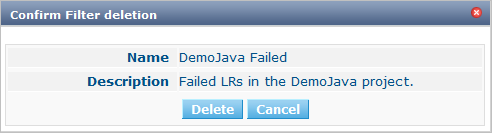
Confirm the deletion by clicking the Delete button.
Modifying a filter’s search criteria
Modifying the search criteria of a filter is only possible on the Overview screens.
-
Select the filter you want to modify.
There are two possible ways to do so:
-
via the
Edit icon on the Search Filters panel on the Personal Settings screen (Managing Filter Definitions), or -
directly on the concerned Overview, by selecting the filter from the drop-down list.
-
-
Adapt the search criteria.
-
Click the Save filter option.
The Save Filter pop-up window is displayed.
-
If required, you can also at the same time adapt the Name and Description.
-
Click Save.
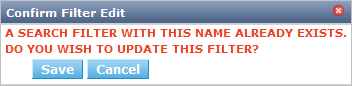
-
As the filter already existed, you need to confirm the update of an existing filter by clicking once again Save.