IKAN ALM Reports Linux Installation Guide
Purpose
IKAN ALM Reports has been created as a complement to IKAN ALM, IKAN’s Application Lifecycle Management tool. With ALM Reports, IKAN ALM customers can run high-quality, highly configurable reports, thus extract important information from the IKAN ALM database which is not readily available from the IKAN ALM GUI.
This guide describes the procedure to install IKAN ALM Reports on Linux. ALM Reports was created using the JasperSoft tools iReport and JasperReports Server. The ALM Reports installation procedure includes the installation of a bundled JasperReports Server (JRS).
Since ALM Reports runs reports from an IKAN ALM database, an IKAN ALM instance must first have been installed, or access to an IKAN ALM database must be available.
Prerequisites
Java
You will need a Java vm to install and run ALM Reports. Java versions 7 and 8 are supported, but only the 64-bit versions.
IKAN ALM
An IKAN ALM instance must have been installed prior to installing ALM Reports, or an IKAN ALM database must be available.
IKAN ALM Reports 1.4 is compatible with the database schema of IKAN ALM 5.8.
Java EE Application Server (Tomcat)
ALM Reports installs a Jasper Reports Server (JRS), and JRS needs a Java EE application server to run. The installation procedure of ALM Reports supports Apache Tomcat 7, 8 or 9 as valid application servers.
Database
ALM Reports supports MySQL, Microsoft SQL Server and Oracle as the database server for the IKAN ALM database. Future versions will support all database servers that IKAN ALM supports.
The installation procedure of ALM Reports only supports MySQL and Microsoft SQL Server as the JasperReports Server database.
Installing IKAN ALM Reports
This chapter describes the installation procedure for IKAN ALM Reports.
-
Unzip the delivered
ALM_Reports.tar.gzto a folder of your choice. We will refer to this directory as<ALMREP-install>. -
Next, edit the
install.propertiesfile and set the properties needed by the installer.Please use a '/' in paths as ANT does not support '\'.
The following properties are available:
Property Explanation js.home
Location where Jasper Server is to be installed.
This property is required.
appserver.type
Type of the Application Server that will serve the Jasper Server web application.
This property is required.
Valid values are:
-
"tomcat7"
-
"tomcat8"
The default value is "tomcat8".
appserver.home
Home directory of the Application Server, for example the installation directory of an Apache Tomcat server.
This property is required.
The default value contains a suggested path to a Tomcat instance.
appserver.http.port
HTTP port of the Application Server.
This property is required.
The default value is "8080".
appserver.service.name
In case the Application Server is installed as a Windows service, specify the name of the service.
During the installation process, the ALM Reports installer will try to stop and start the Application Server before installation. If this property is set, it will try to stop and start the service with the specified name, if the property is left empty, it will try to stop and start the Application Server using scripts.
This property is optional, by default it is empty.
jrs.db.type
Jasper Server database type. Valid values are "mysql" and "sqlserver".
This property is required.
The default value is "mysql".
jrs.db.host
Host name or IP address of the Jasper Server database.
This property is required.
The default value is "localhost".
jrs.db.port
Port number of the Jasper Server database.
This property is required.
The default value is "3306".
jrs.db.user
User name to connect to the Jasper Server database.
This property is required.
The default value is "root".
jrs.db.password
Password of the user that will be used to connect to the Jasper Server database.
This property is optional.
The default value is "alm".
jrs.db.name
Database name of the Jasper Server database.
This property is required.
The default value is "jasperserver".
quartz.mail.sender.host
Scheduled Reports mail notification setting. Hostname of the mail server.
Default value is "mail.localhost.com".
quartz.mail.sender.username
Scheduled Reports mail notification setting. User name to connect to the mail server.
Default value is "admin".
quartz.mail.sender.password
Scheduled Reports mail notification setting. Password to connect to the mail server.
Default value is "password".
quartz.mail.sender.from
Scheduled Reports mail notification setting. From address used in the mail notifications.Default value is "admin@localhost.com".
quartz.mail.sender.protocol
Scheduled Reports mail notification setting. Mail protocol used for the mail notifications.Default value is "smtp".
quartz.mail.sender.port
Scheduled Reports mail notification setting. TCP port to connect to the mail server.Default value is "25".
quartz.mail.smtp.auth
Scheduled Reports mail notification setting. Whether or not to use authentication to connect to the mail server.Default value is "false".
alm.jaas.config.location
Location of the
jaas.configfile used by IKAN ALM for its authentication.ALM Reports uses the settings of IKAN ALM for authenticating users. Therefore, it needs the location of IKAN ALM’s jaas.config file. Normally, this file is located in the folder
<ALM_HOME>/system/security.This property is required.
The default value contains a suggested path to a jaas.config file.
alm.server.rdbms.type
IKAN ALM database type.
Valid values are MYSQL,MSSQL,ORACLE,DB2.
This property is required.
The default value is "MYSQL".
alm.server.rdbms.server
Host name or IP address of the IKAN ALM database.
This property is required.
The default value is "localhost".
alm.server.rdbms.port
Port number of the IKAN ALM database.
This property is required.
The default value is "3306".
alm.server.rdbms.user
User name to connect to the IKAN ALM database.
This property is required.
The default value is "root".
alm.server.rdbms.pwd
Password of the user that will be used to connect to the IKAN ALM database.
This property is optional.
The default value is "alm".
alm.server.rdbms.dbname
Database name of the IKAN ALM database.
This property is required.
The default value is "alm".
alm.server.rdbms.dbschema
Database schema name of the IKAN ALM database. Only relevant if using IBM DB2.
This property is optional.
The default value is "alm".
-
-
The installation procedure doesn’t create the JRS database (specified in jrs.db.name). You must manually create this database before running the installer.
-
Next, open a terminal and run the
install.shfile to start the ALM Reports installation.Normally, it should detect your Java runtime. If it doesn’t, you need to edit the “setenv.sh” file and manually set the JAVA_HOME variable. You can also set specific Java options, like for example:
JAVA_HOME=/opt/java/jdk1.8.0 JAVA_OPTS=”-Xms128m -Xmx256m”The user that launches the installer should have sufficient privileges to stop and start the Application Server, and must be able to deploy a web application.
-
The installer will execute the following operations:
-
Install a customized Jasper Reports Server
-
Start your Application Server
-
Deploy the ALM Reports
-
Stop your Application Server
-
-
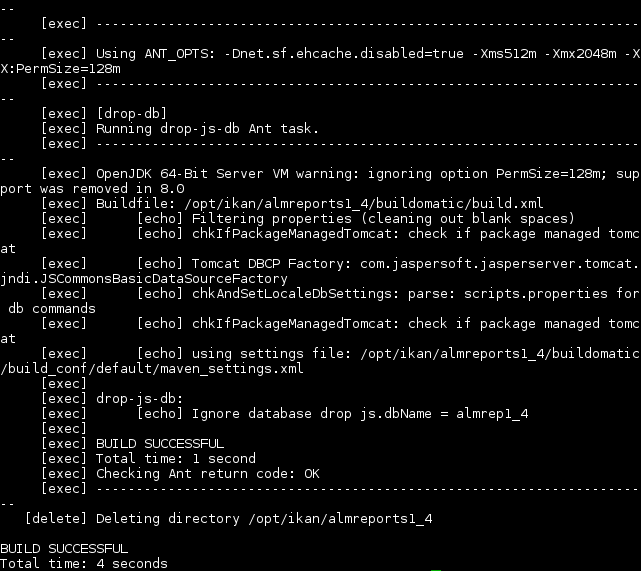
The installer logs its messages into the “install.log” file. When it has completely successfully, you should find these messages in the install.log file:
-
Verify whether ALM Reports has been successfully installed.
Start the Application server, and browse to the Jasper Server web-application.
If you used the default settings, this means opening the URL "http://localhost:8080/jasperserver".
-
Log in with the user/password combination of a valid IKAN ALM user (the authentication of IKAN ALM and ALM Reports are linked, they use the same jaas.config file).
-
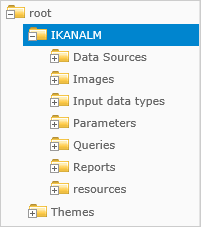
Verify that a resource folder named “IKANALM” exists and has the following structure:
-
IKAN ALM Reports is now installed and ready to be used!
Using IKAN ALM Reports
In this chapter, we will give a short description of each of the available reports. Please note that by default all reports have to be run manually, no reports have been scheduled to run automatically. To set this up, consult the JasperReports Server documentation.
Level Requests Overview
Reports the latest Level Requests performed by IKAN ALM.
The User can limit the result in various ways, for example by setting a Project name, one or more Level Request statuses, or the type of a Level.
Approvals Overview
Reports the latest Approvals issued by IKAN ALM.
The User can limit the result in various ways, for example by specifying the User that approved or rejected an approval, setting a Project name, or the approval status.
Machine Activity
Reports the latest Builds and Deploys that were executed on a specific Machine.
The User must select a Machine for this report to return any results. The result can be limited in various ways, for example by setting the Project name, the Level type, or by specifying one or more Build or Deploy statuses.
Project Activity
Reports the overall status of a Project by reporting the latest successful Level Requests of a Project per Project Stream and per Package.
The User must select a Project for this report to return any results. The result can be limited in various ways, for example by selecting specific Project Streams and/or Packages.
Issue Activity
Reports information of an Issue and the latest Level Requests performed by IKAN ALM that are related to the Issue.
The User must provide an Issue ID for this report to return any results. The result can be limited in various ways, for example by setting the Project name, the Level type, or the Level name.
Package Overview
Reports information of a Package and the latest Level Request per Level, allowing a User to easily see which build of the Package is currently active on each Level. Optionally reports all Level Requests related to the Package, and the files that are contained in the Package.
The User must select a Project name and a Package for this report to return any results.
Level Request Detail Overview
Reports detailed information about 1 specific Level Request performed by IKAN ALM. The User must specify the OID of a Level Request for this report to return any results.
The User can optionally select which pieces of information he/she wishes to see in the report.
Global Admin Overview
Reports the configuration of the Global Administration of IKAN ALM.
The User can select which parts of the Global Administration configurations he/she wishes to see in the report. For example, the User can select to report all defined Machines, Transporters, and VCRs.
Project Configuration
Reports the configuration of a specific IKAN ALM Project.
The User can select which parts of the Project configuration he/she wishes to see in the report. For example, the User can select to report all defined Project Streams, Life Cycles, and Levels of a Project. The User must select a Project for this report to return any results.
Compare Package Activity on 2 Levels
Reports the latest Level Requests of selected Packages of a Project, clearly showing the differences between 2 selected Levels.
The User must select a Project and 2 Levels for this report to return any results.
Phases Overview
Reports information on the Phases defined in IKAN ALM.
The result can be limited in various ways, for example by selecting the Name, Version, or Author.
Optionally, it reports the Phase’s Parameters.
Phase Parameters Overview
Reports all the Parameters that are defined for a specific IKAN ALM Phase, in which Levels and Environments the Parameters are used, and their values in each of those Environments.
The User must select a Phase name for this report to return any results.
File Revision Activity
Reports the Packages that contain the specified file in the specified path. The User must specify a filename for this report to return any results. The result can be limited in various ways, for example by selecting the Revision, Project name, or Package name.
Optionally also reports the Level Requests of the Packages.
Uninstalling ALM Reports
The procedure to uninstall ALM Reports is similar to the installation procedure: you adapt the install.properties, and then run the uninstaller.
The uninstaller uses the same properties file as the installer, so if you kept the installation folder you can just launch uninstall.sh and ALM Reports will be uninstalled.
If you didn’t keep the installation folder, you must again edit the install.properties and set the values according to your current installation of ALM Reports.
Please refer to Installing IKAN ALM Reports for a detailed explanation of all the available properties.
The uninstaller will execute the following operations:
-
Stop the application server
-
Delete the Jasper Server web-application
-
Delete the Jasper Server installation folder
To start the uninstaller, open a terminal and run the uninstall.sh file.
Normally, it will detect your Java runtime.
If it doesn’t, you need to edit the “setenv.sh” file and manually set the JAVA_HOME variable.
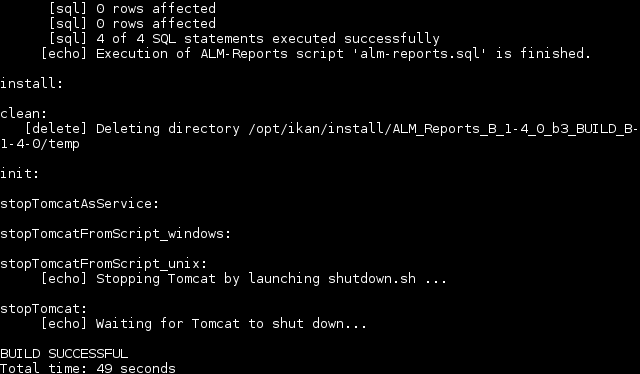
The uninstaller logs its messages into the “uninstall.log” file. When it has completed successfully, you should find these messages in the uninstall.log file: